
使用Fail2Ban 保护云服务器和网站安全

Fail2Ban 是一个广泛使用的工具,用于检测恶意登录尝试和其他异常活动,并自动封锁攻击者的IP地址。您可以配置它来检测过多的连接请求,然后暂时封锁来自恶意IP地址的访问。
安装与启动
Debian/Ubuntu安装
apt update -y && apt install -y fail2ban
CentOS安装
yum update -y
yum install -y epel-release
yum install -y fail2ban
yum install -y nano
启动
systemctl start fail2ban
开机自启
systemctl enable fail2ban
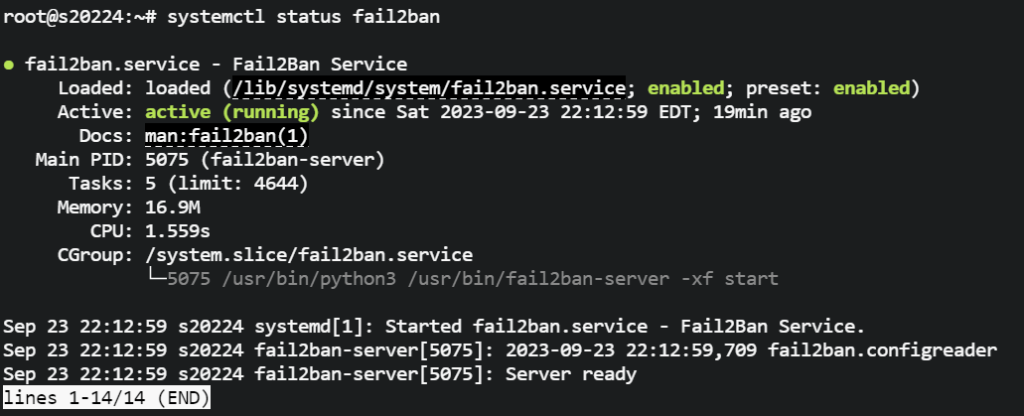
查看状态
systemctl status fail2ban
主配置文件
主配置文件创建本地副本
cp /etc/fail2ban/jail.conf /etc/fail2ban/jail.local
编辑本地副本
nano /etc/fail2ban/jail.local
重启服务
systemctl restart fail2ban
SSH防御 防止暴力破解
rm -rf /etc/fail2ban/jail.d/*
nano /etc/fail2ban/jail.d/sshd.local
插入以下文本
[sshd]
enabled = truemode = normalbackend = systemd
重启服务
systemctl restart fail2ban
查看封锁列表
fail2ban-client status
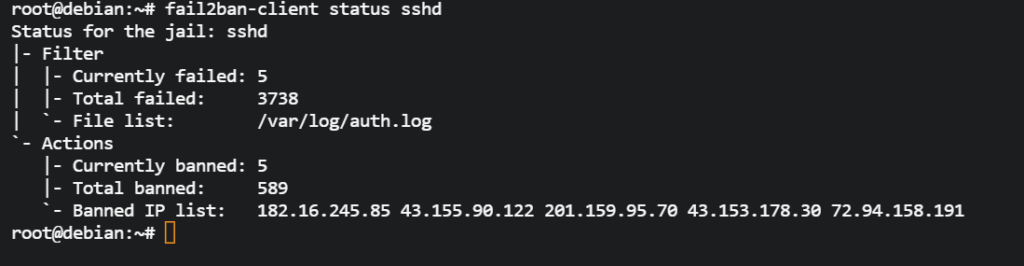
查看SSH封锁情况
fail2ban-client status sshd
网站防御
采用科技lion的LDNMP建站方案可以使用该防御
删除之前nginx容器
docker rm -f nginx
部署新容器我们把log映射出来
docker run -d --name nginx --restart always --network web_default -p 80:80 -p 443:443 -v /home/web/conf.d:/etc/nginx/conf.d -v /home/web/certs:/etc/nginx/certs -v /home/web/html:/var/www/html -v /home/web/log/nginx:/var/log/nginx nginx
开启目录权限
docker exec -it nginx chmod -R 777 /var/www/html
开启NGINX速率限制
docker exec -it nginx sh -c "sed -i '/http {/a \ limit_req_zone \$binary_remote_addr zone=example_zone:10m rate=1r/s;' /etc/nginx/nginx.conf"
重启nginx
docker restart nginx
创建网站拦截规则
nano /etc/fail2ban/jail.d/nginx.local
插入规则
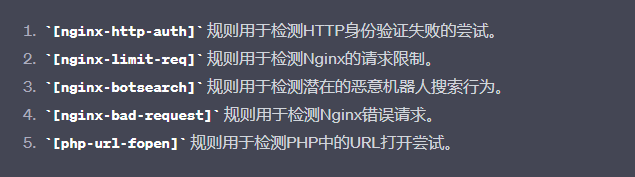
[nginx-http-auth]
enabled = true
mode = fallback
port = http,https
logpath = /home/web/log/nginx/access.log
[nginx-limit-req]
enabled = true
port = http,https
logpath = /home/web/log/nginx/access.log
[nginx-botsearch]
enabled = true
port = http,https
logpath = /home/web/log/nginx/access.log
[nginx-bad-request]
enabled = true
port = http,https
logpath = /home/web/log/nginx/access.log
[php-url-fopen]
enabled = true
port = http,https
logpath = /home/web/log/nginx/access.log
重启服务
systemctl restart fail2ban
查看nginx封锁情况
fail2ban-client status nginx-http-auth
查看总日志
tail -f /var/log/fail2ban.log

卸载
systemctl disable fail2ban
systemctl stop fail2ban
apt remove -y --purge fail2ban
find / -name "fail2ban" -type d
rm -rf /etc/fail2ban
版权声明:
作者:KEJILION
链接:https://blog.kejilion.pro/fail2ban/
来源:科技lion官方博客【国内版】
文章版权归作者所有,未经允许请勿转载。


二胖
厉害

JosephNit
我热爱这样的想法, 参观你们描述的目的地。感谢激励。 [url=https://iqvel.com/zh-Hans/a/%E4%B8%AD%E5%9B%BD/%E8%A5%BF%E6%B9%96]雷峰夕照[/url] 表示感谢 旅游提示。格外 有帮助。